Elevate your surf photography skills with insider techniques for capturing pro-quality action shots, crafting compelling compositions, enhancing natural light, and taking your images from great to extraordinary with editing.
As an exciting surfer rockets across a wave or launches into an aerial maneuver, photographing these exhilarating moments requires technical excellence and an artistic eye. Mastering surf photography involves understanding when to click the shutter, where to position yourself, and how to leverage natural light and editing to create captivating images that do justice to the thrill of wave riding.
This in-depth guide shares advanced techniques to take your surf photography to the next level. Learn to reliably nail crisp action shots, compose well-balanced imagery, and discover editing tips that give your photos added brilliance and impact.
Capturing Thrilling Surf Action
Taking photos of fast-moving surfers as they shred across waves requires honing specialist skills for tracking motion and freezing the peak moments of action.
Anticipate the Peak Action
Success in surf photography begins before you click the shutter. Observe the surfers and waves to identify prime spots to capture the most dramatic moments of their ride.
Position yourself to shoot where surfers will launch off the lip of the wave or come barreling through a tube. Learn to predict peak action so you can prepare the camera in advance.
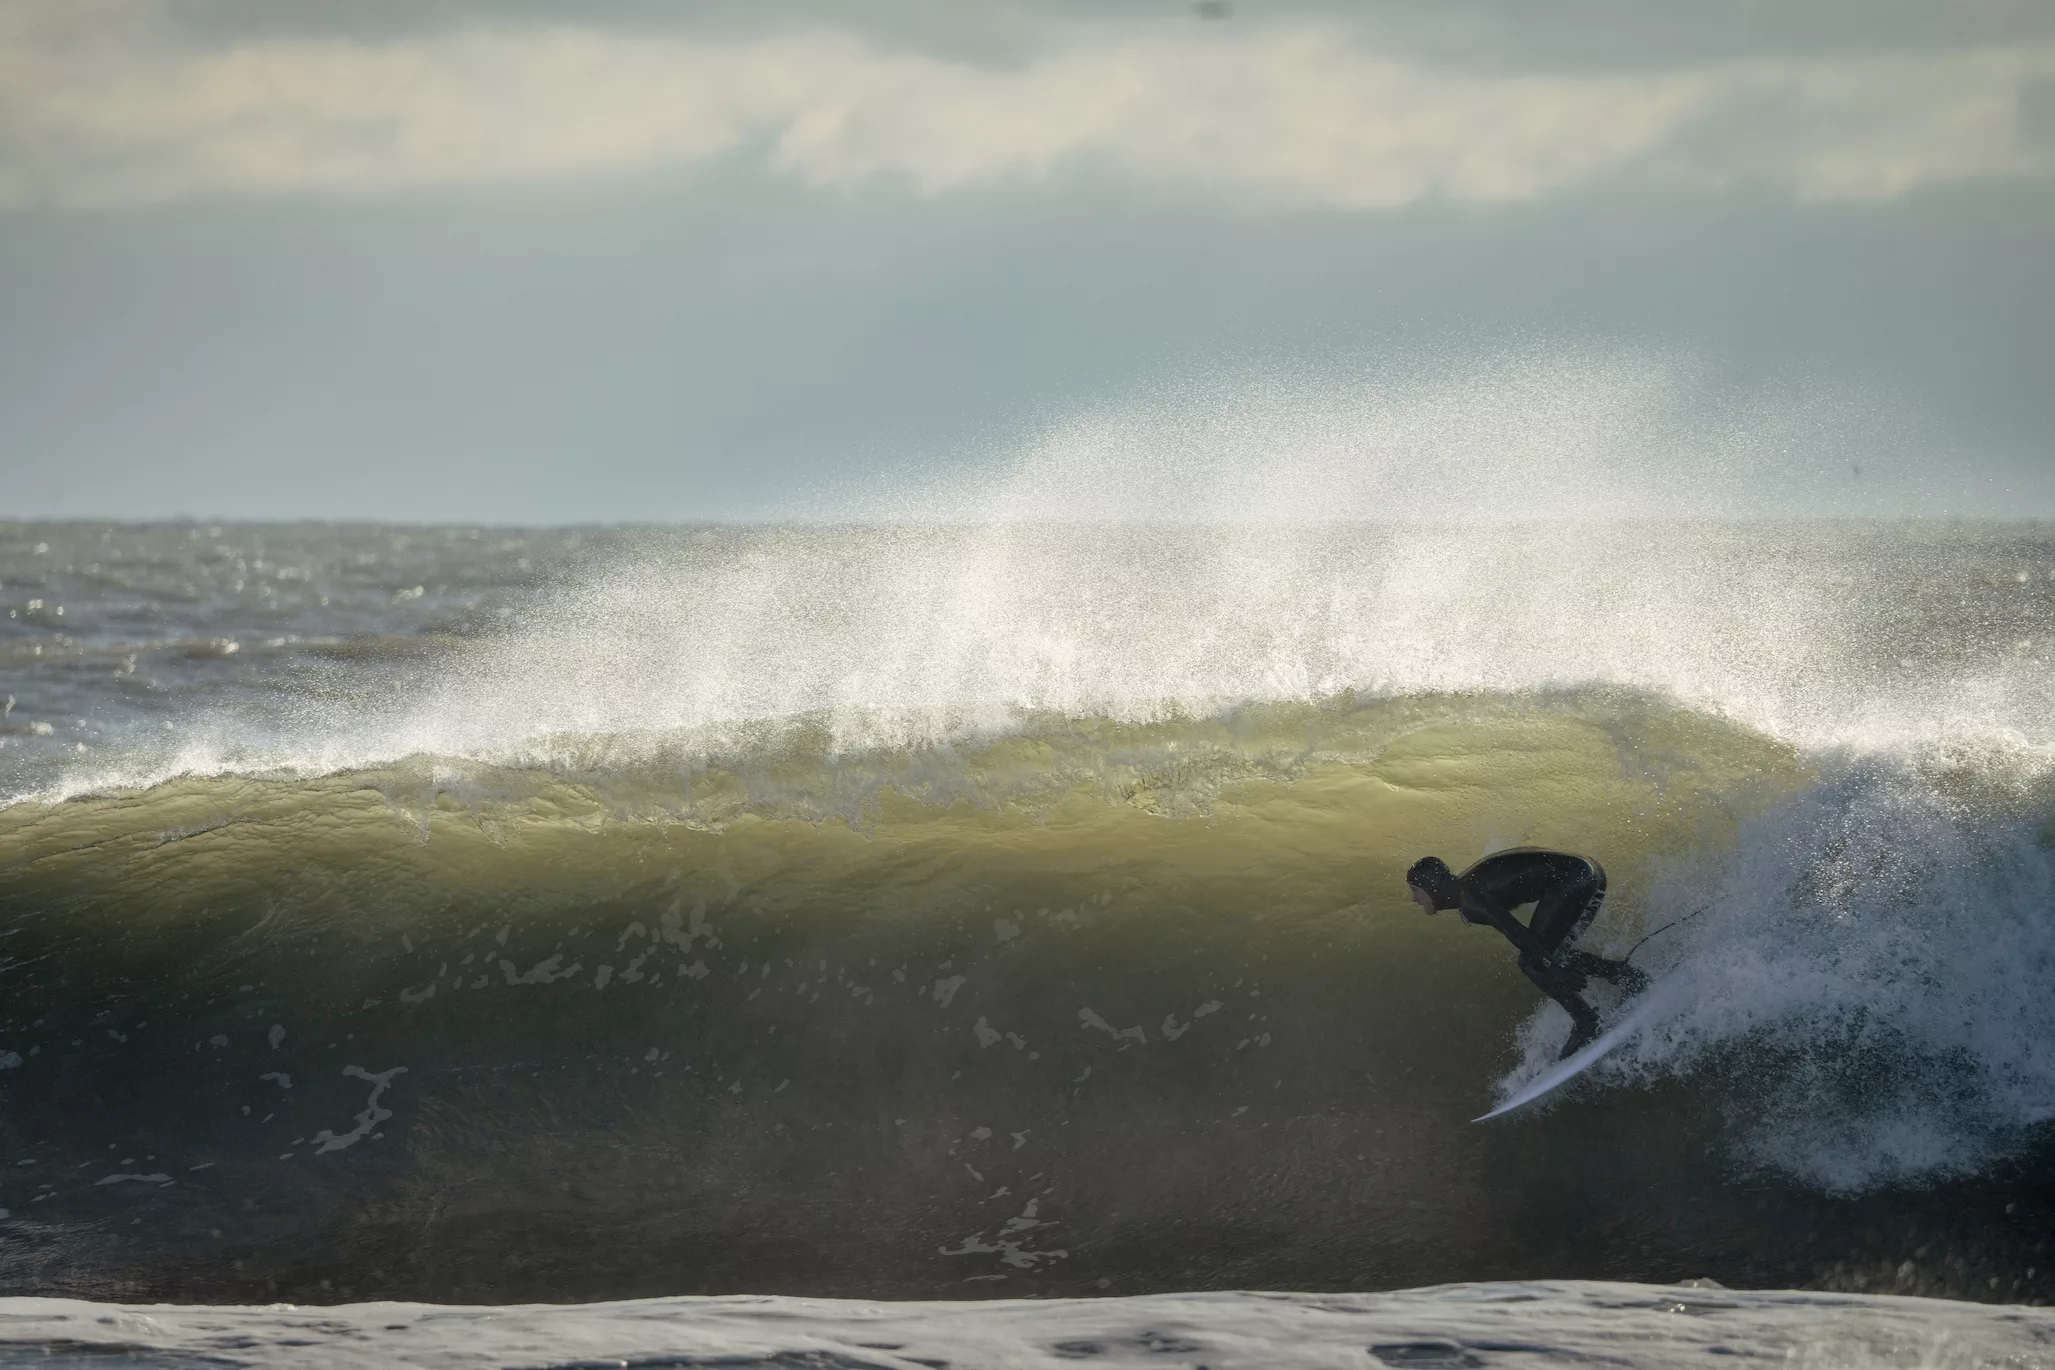
Use a Fast Shutter Speed
To freeze the fast motions of surfing in crisp focus, you need a shutter speed of 1/1000 second or higher. Using a slow shutter speed results in blurry surf photos as subject movement isn’t stopped quickly enough.
Set your camera to shutter priority mode and dial in a fast shutter speed to ensure sharpness. Increase the ISO or open the aperture wider if more light is needed to accommodate the high shutter speed.
Shoot in Continuous Drive Mode
The unpredictability of waves makes timing difficult in surf photography. Use continuous shooting mode to machine gun frames per second so you can capture the perfect moment of action across multiple shots.
Burst mode increases your chances of nailing that ideal instant when the surfer is performing an aerial maneuver or shredding across the curl of the wave.
Follow the Surfer
Panning techniques allow you to track the surfer across the frame while keeping them sharp against a blurred background. Pan smoothly by rotating your upper body rather than just your arms. Maintain continuous focus on the surfer.
Follow them across the wave to capture a sequence of their ride. Continue tracking them even if they wipe out, as this can lead to dramatic action shots.
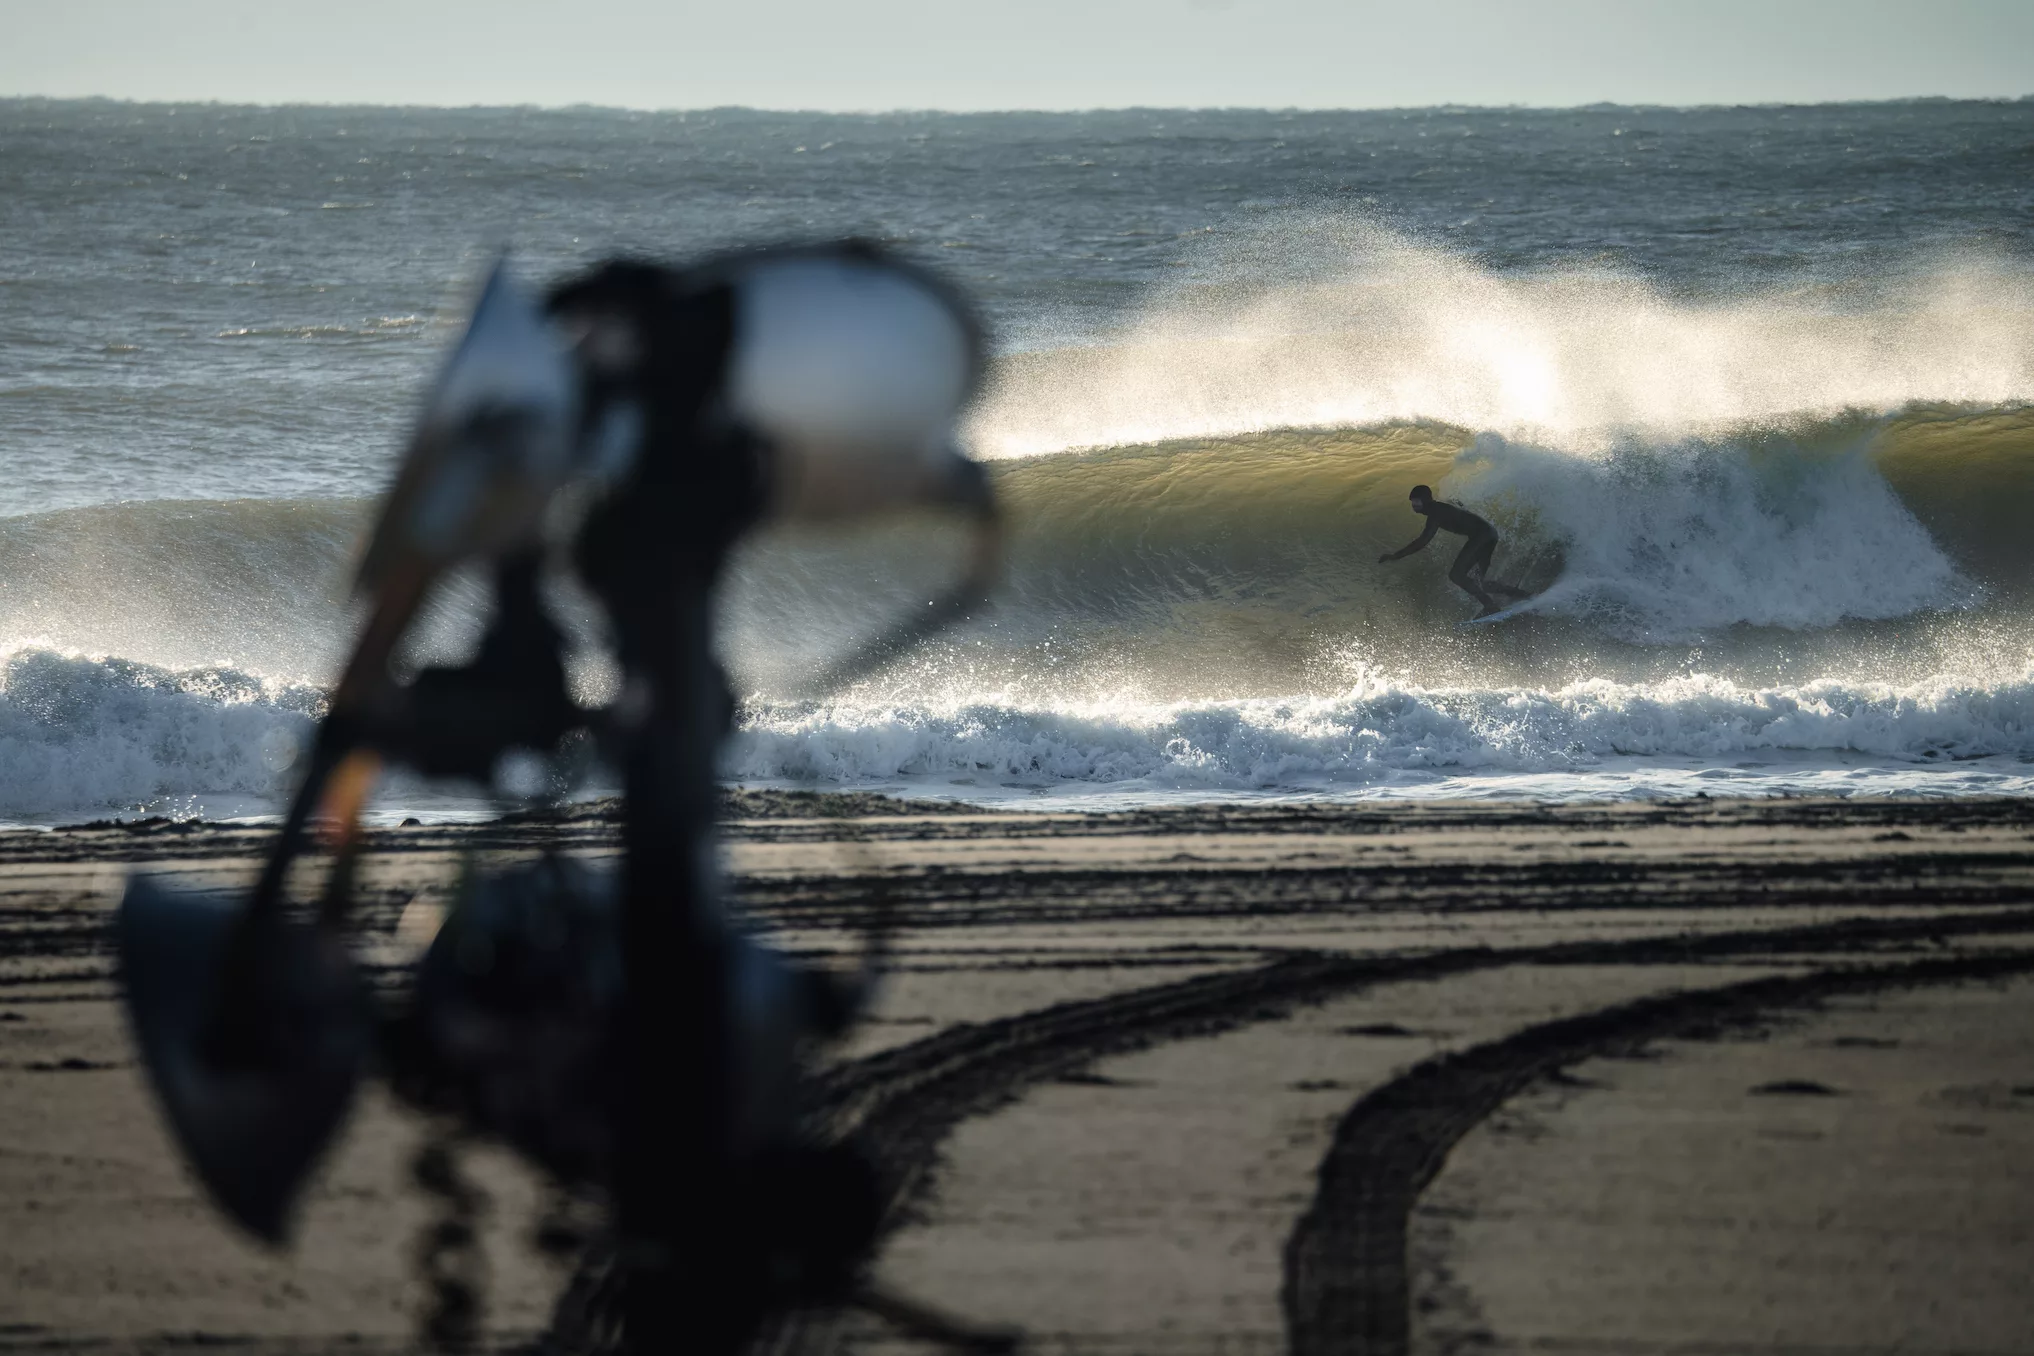
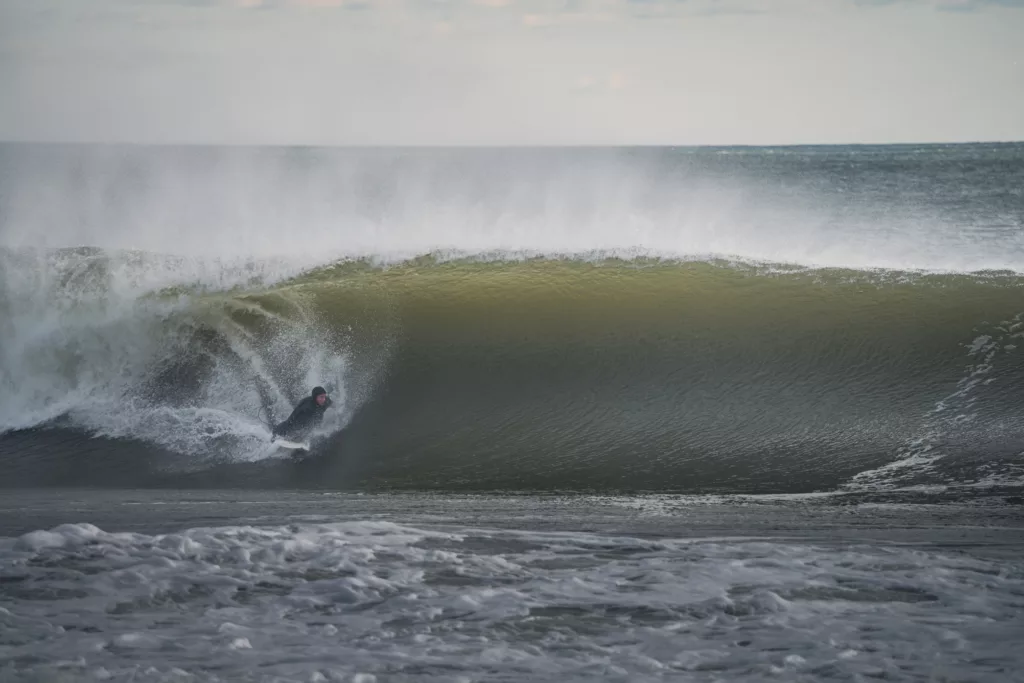
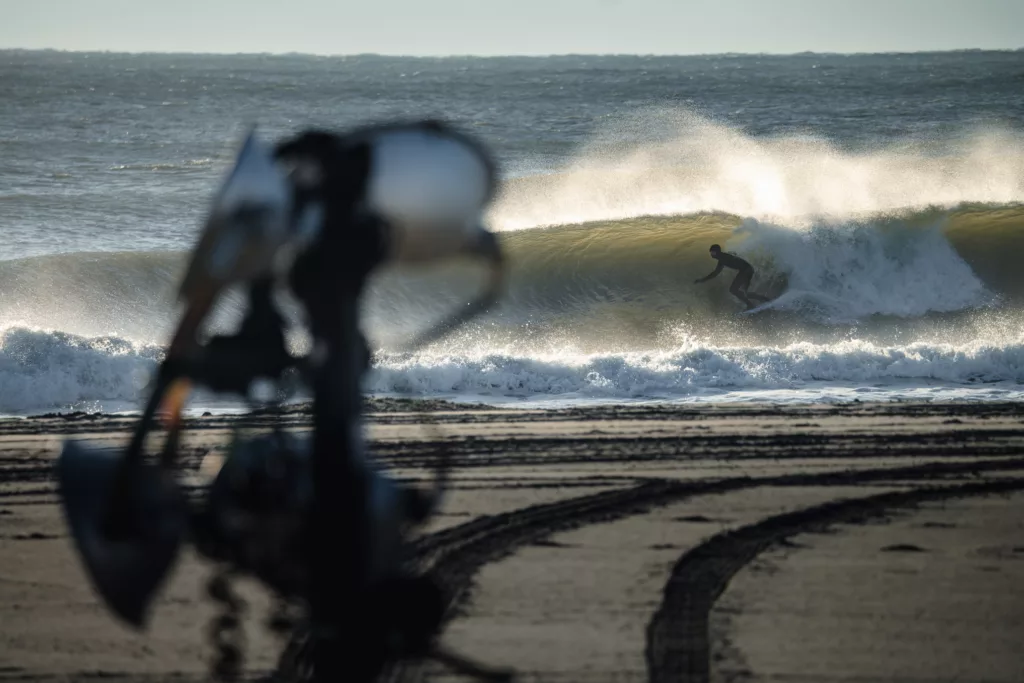
Get Close to the Surf
Don’t just photograph surfers from the shoreline – get up close in the water to capture incredible perspectives. Shoot from out the back on a surfboard or from inside the barrel of the wave.
Use waterproof housings to safely immerse your camera in the surf zone for intimate, one-of-a-kind angles.
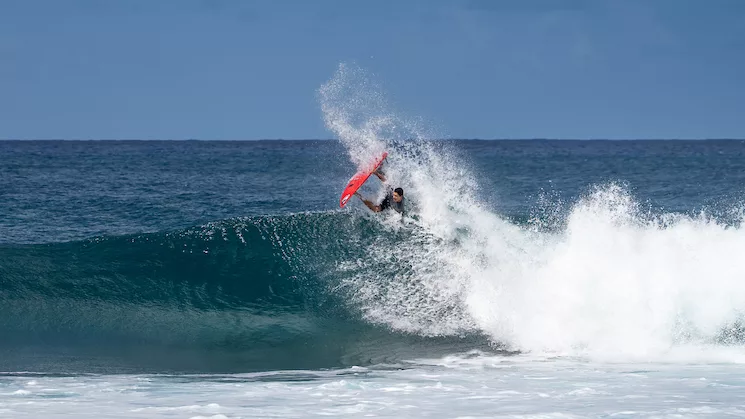
Mastering Composition
Strong visual composition in surf photography creates balance, directs the viewer’s gaze, and highlights the surfer against the interplay of dynamic waves.
Use the Rule of Thirds
Placing key elements like the surfer on the intersections or lines of the rule of thirds grid creates an engaging, off-center composition with visual tension.
Position the surfer at the point where wave lines converge to imply direction and movement through the frame. Allow space ahead of the rider to convey a sense of progression across the wave.
Frame with Leading Lines
Compose shots to take advantage of the natural leading lines formed by the contours of the waves and surfboard. Angling your camera relative to the wave creates dynamic diagonals leading towards the rider.
Shoot low to emphasize the sweeping lines of white water trailing off the surfboard. Lead the viewer’s eye through the shot.
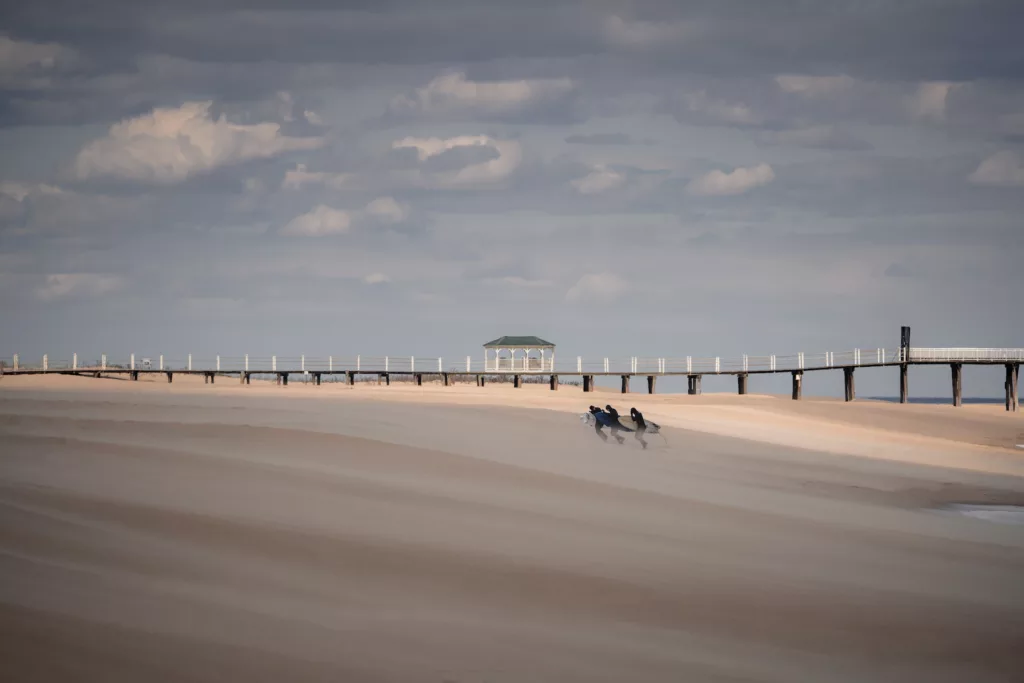
Negative Space Adds Balance
Whitespace in surf photography provides balance and allows the subject room to move into. Uncluttered backgrounds keep the focus on the surfer.
When framing vertical compositions, position the rider at the bottom with plenty of headroom above to imply the vast scale of the ocean.
Alternate Vertical and Horizontal
Shifting between portrait and landscape orientations provides variety and allows you to highlight different aspects. Vertical shots emphasize the height of airs and power of tube rides, while horizontal frames capture a surfer’s entire line across a wave face.
Take both vertical and horizontal compositions to choose the most dynamic results in editing.
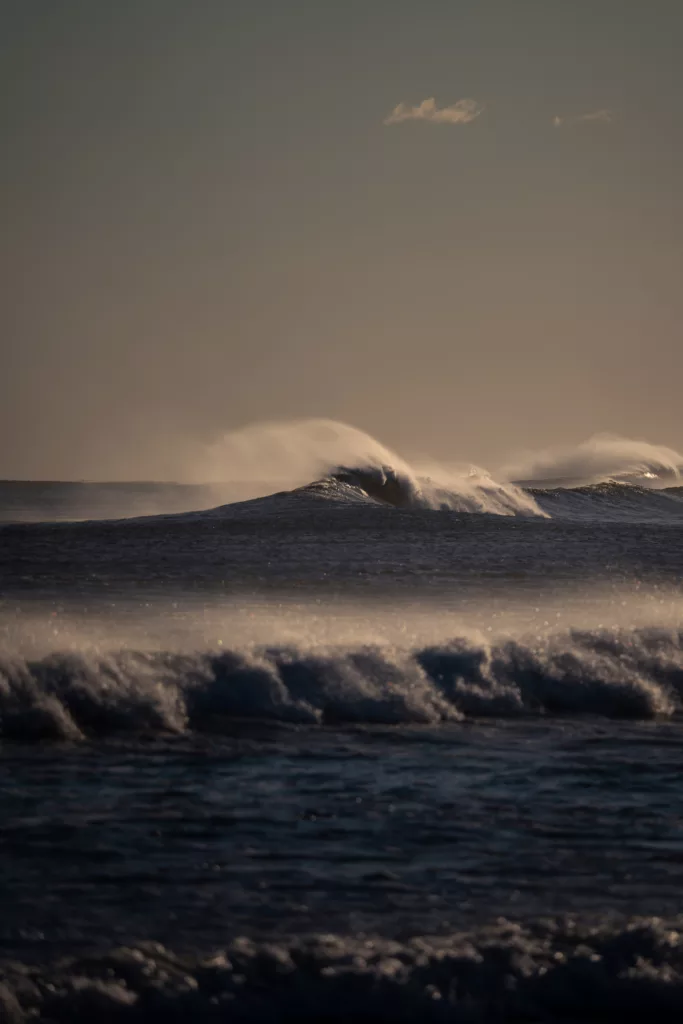
Enhance Drama and Mood with Lighting
Naturally changing ocean light creates different moods and drama. Learning to leverage lighting conditions advances your surf photographs.
Optimize Natural Light
Frontlit surfers stands out against backlit waves while sidelighting at sunrise or sunset adds color and warmth.
Overcast and drizzly days create moody, low contrast scenes. Fog diffuses light softly across surf shots.
Harness Golden Hour Magic
The softly glowing light at sunrise and sunset casts surfers in radiant backlight and sidelight. Time sessions around dawn or dusk to capture the rich, golden hour tones that infuse images with breathtaking magic.
Position yourself to shoot into the light behind surfers to backlight them against orange-hued waves.
Balance Sun and Fill Light
On bright, sunny days, use a reflector to bounce light into shaded areas on the surfer’s side or face. Fill flash can also illuminate the surfer while retaining the natural light.
A strobe or off-camera flash added to the foreground helps balance shadows and sun when shooting surfers at midday.
Shoot in Stormy Conditions
Don’t pack away your camera when stormy weather hits – dark, brooding storm skies create incredibly dramatic backdrops for surf shots.
Time wave riding sessions during storms and cyclonic conditions to capture heavy water and surfers lit with emotion and atmosphere.
Take Your Photos to the Next Level with Editing
Post-processing techniques add polish and vibrance that elevate your images from great to truly phenomenal.
Refine Basic Adjustments
Nail down the foundations with adjustments like cropping, straightening, color correction, and exposure tweaks. Clean up noise and fine-tune contrast, temperature, highlights, and shadows.
Crop tight around the surfer as the focal point. Boost contrast and vibrance to make colors pop against the ocean background.
Leverage Advanced Techniques
Take your images further with:
- Graduated filters to darken skies and draw attention to the subject.
- Sharpening and noise reduction for crisp detail.
- Local adjustments to brighten up dark sections.
- Lens correction to remove distortion.
Shoot RAW
RAW image files contain more data and flexibility than JPEGs when editing. Process RAWs in advanced programs like Lightroom or Capture One for best results.
Create Stylized Edits
Incorporate your creative vision:
- Black and white conversion for dramatic effect
- Vintage filters like film grain
- Tilt shift to accentuate motion blur
Recommended Editing Software
- Adobe Lightroom: Streamlined workflows for batch editing high volumes of photos.
- Adobe Photoshop: Offers more advanced, localized editing tools.
- Capture One: Powerful RAW processor ideal for detail enhancement.
With practice and persistence, you can master advanced surf photography techniques to take your images to the next level. Compose shots that pop, leverage stunning natural light, and perfect your images in post-production for captivating photos that encapsulate the thrill of surfing.
Now it’s your turn to grab your camera and hit the waves! For more pro tips, check out our [Beginner’s Guide to Surf Photography](internal link) and [How to Edit Surf Photos](internal link). Share your iconic shots with the surfing community on Instagram.